Installation Instructions:
LAYING FLAGSTONES:
- A good plan is essential to a successful paving project. Your project will need to have adequate drainage if you want it to be safe and durable.
- Check with your local utilities company before starting any construction. Installing pavers may be easy, but it's necessary to check with your local utilities company before beginning to ensure that you don't accidentally strike or obtrude any cables or pipes.
- Outline the project area. Excavate the installation area. Projects which will be exposed only to foot traffic generally need 100 -150mm of crushed hardcore, while driveways or projects in very wet soil may need as much as 200mm of base. Be sure to excavate 150 to 200mm beyond the boundaries of the project to give you ample space to install your edge restraints.
- Lay a suitable sub base such as crushed hardcore, be sure to lay base material beyond the planned boundaries of the paving stones. Laying the base outside the boundaries of the pavers will make your project more stable. Make sure this is well compacted using the necessary equipment such as compaction plate (Wacker Plate).
- After the sub base is compacted, use a wet bed of concrete mortar 4:1 ratio of washed sharp sand and cement ensure you achieve 35 to 50mm laying course of mortar mix.
- All natural stone should be laid on a full bed of concrete that supports the whole flagstone, Use of an SBR primer solution can be applied to the underside of the paving stones to help improve adhesion. (Spot bedding on any paving stone is not recommended). Ensure all cement stains are washed off immediately or this would result in staining the slabs. Please do not use any Acid based cleaners for removing stains.
- Paving stones should be carefully laid on top of the mortar mix, tap into place using rubber mallet. Place next flag with an adequate joint and continue with appropriate laying guide.
- After completion of laying the flagstones, curing time should be allowed for 48 hours. We recommend using a resin based jointing compound for filling the joints, Please check manufacture instructions before you use any Jointing Compounds.
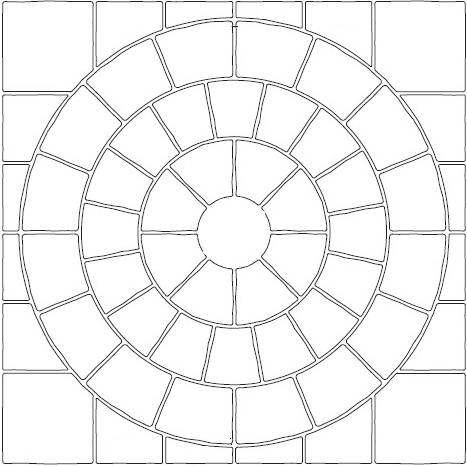
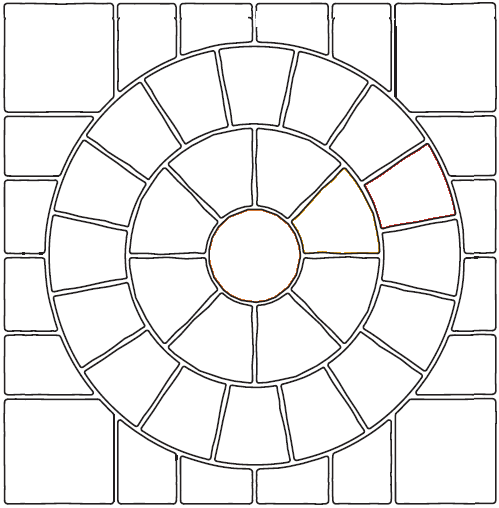
- When laying circles, you should always start with the centre stone first and work outwards, if you are incorporating a circle within your patio the circle must be laid first.
LAYING NATURAL STONE BLOCK PAVING:
The natural stone block paving is laid same as the traditional concrete block paving.
- Prepare a plan and outline the project area.
- Excavate the installation area recommended 200 -250mm for domestic driveways. Be sure to excavate 150 to 200mm beyond the boundaries of the project to give you ample space to install your edge restraints.
- Lay a suitable sub base such as crushed hardcore 100 to 150mm, be sure to lay base material beyond the planned boundaries of the blocks. Laying the base outside the boundaries of the pavers will make your project more stable. Make sure this is well compacted using the necessary equipment such as Vibrating compaction plate (Wacker Plate).
- After the sub base is compacted, build an edge restraint course with kerbs or blocks on a concrete bed which acts as a restraining edge.
- Followed by the use of 35 to 40mm laying course of grit sand on top of the sub-base. Spread, level and compact laying course sand, and screed to correct level. When compacted, the laying course sand should be 25-40mm deep
- Lay the blocks on top of the levelled sand close to each other without gaps
- After completion of laying the blocks, Sweep Kiln-dried jointing sand over the block surface into the joints using a soft brush and compact the blocks using a vibrating plate compactor (wacker plate).
All our slabs should be laid pointing downwards. They should go on a full Mortar Bed of Sand & Cement with a Sub-base. The recommended laying ratio is 4 parts sharp sand and 1 part cement.
